Hey there! As a supplier of cross conveyors, I often get asked how to install one in a limited space. It can be a real challenge, but with the right approach and a bit of creativity, it's definitely doable. In this blog post, I'll share some tips and tricks that have worked for me and my customers.
First off, let's talk about why you might need to install a cross conveyor in a tight spot. Maybe you're trying to optimize your production floor or warehouse layout to fit more equipment or products. Or perhaps you're working on a retrofit project where space is at a premium. Whatever the reason, the key is to plan ahead and think outside the box.
Planning Your Installation
The first step in installing a cross conveyor in a limited space is to do a thorough assessment of the area. Measure the length, width, and height of the space, and take note of any obstacles, such as columns, walls, or existing equipment. This will give you a clear idea of the available space and help you determine the size and configuration of the conveyor that will fit best.
Once you have a good understanding of the space, it's time to start thinking about the conveyor design. There are several factors to consider, including the type of products you'll be transporting, the speed of the conveyor, and the required throughput. You'll also need to decide on the orientation of the conveyor, whether it will be horizontal, inclined, or vertical.
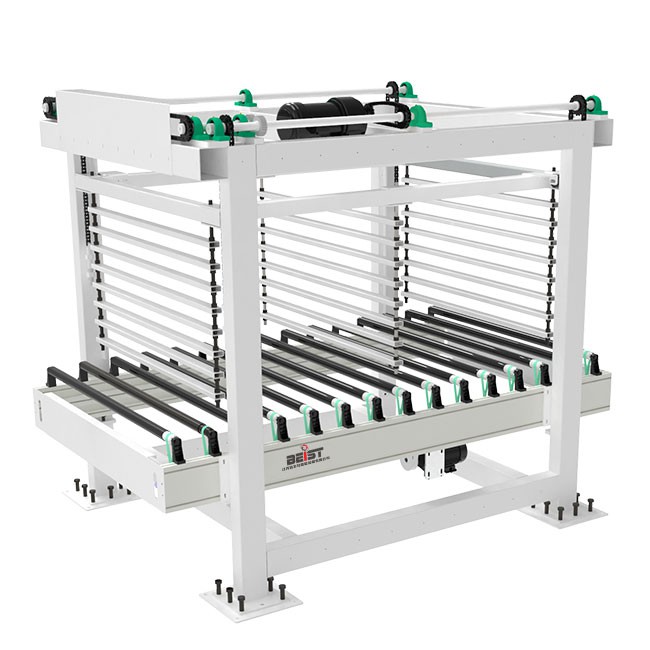
In a limited space, it's often a good idea to choose a compact conveyor design that can be easily integrated into the existing layout. For example, a Powered Roller Conveyor-Lean is a great option for transporting lightweight to medium-weight products. It's designed to be space-efficient and can be customized to fit your specific needs.


Another option is to use a RGV Single Row Power Tour Car. This type of conveyor is ideal for transporting products in a circular or oval pattern, which can help save space in a limited area. It's also flexible and can be easily adjusted to accommodate different product sizes and shapes.
Installation Process
Once you've planned your conveyor design, it's time to start the installation process. Here are some steps to follow:
- Prepare the Site: Clear the area of any debris or obstacles, and make sure the floor is level and stable. If necessary, install a support structure or platform to ensure the conveyor is properly supported.
- Assemble the Conveyor: Follow the manufacturer's instructions to assemble the conveyor components. Make sure all the parts are properly aligned and tightened, and check for any signs of damage or wear.
- Install the Conveyor: Carefully lift the assembled conveyor into place, and secure it to the support structure or platform. Use bolts, brackets, or other fasteners to ensure the conveyor is securely attached.
- Connect the Power and Controls: Connect the conveyor to a power source and install any necessary controls or sensors. Make sure the electrical connections are properly insulated and grounded, and test the conveyor to ensure it's working properly.
- Test the Conveyor: Once the conveyor is installed and connected, test it to make sure it's functioning correctly. Run some test products through the conveyor to check the speed, alignment, and throughput. Make any necessary adjustments to the conveyor settings or components.
Tips and Tricks
Here are some additional tips and tricks to help you install a cross conveyor in a limited space:
- Use a Modular Design: A modular conveyor design allows you to easily add or remove sections of the conveyor as needed. This can be especially useful in a limited space, where you may need to make changes to the layout in the future.
- Consider a Compact Drive System: A compact drive system, such as a direct drive or a beltdrive, can help save space and reduce the overall footprint of the conveyor.
- Optimize the Conveyor Path: Try to design the conveyor path in a way that minimizes the amount of space it takes up. This may involve using curves, loops, or other creative configurations.
- Use a 90 Degree Cone-roller Type Turning Machine: A 90 Degree Cone-roller Type Turning Machine can be a great solution for changing the direction of the conveyor in a limited space. It's designed to be compact and efficient, and can help you make the most of the available space.
- Get Creative with Installation: Don't be afraid to get creative with the installation process. You may be able to use existing equipment or structures to support the conveyor, or find other ways to optimize the space.
Conclusion
Installing a cross conveyor in a limited space can be a challenging task, but with the right planning and approach, it's definitely possible. By choosing a compact conveyor design, using a modular design, optimizing the conveyor path, and getting creative with the installation, you can install a conveyor that fits your needs and maximizes your available space.
If you're interested in learning more about our cross conveyors or need help with your installation, please don't hesitate to contact us. We'd be happy to discuss your requirements and provide you with a customized solution.
References
- Conveyor Installation Guide, Manufacturer's Manual
- Warehouse Layout Optimization Best Practices, Industry Report