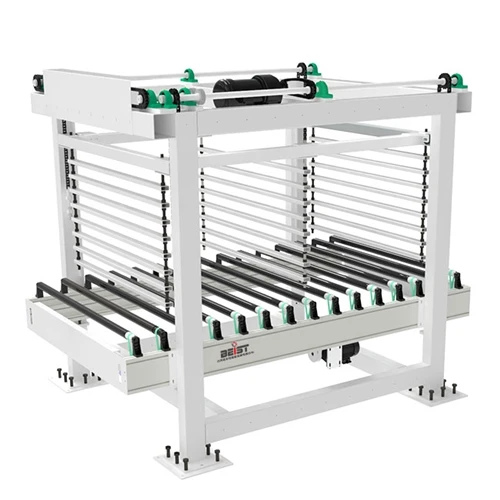
Installing a roller conveyor cart can seem like a daunting task, but with the right guidance and a bit of effort, you can have it up and running efficiently. As a trusted Roller Conveyor Cart supplier, I've had the privilege of assisting numerous clients in the installation process. In this blog, I'll walk you through the step - by - step process of installing a roller conveyor cart, ensuring that you can maximize its benefits for your business operations.
Step 1: Planning and Preparation
Before you even unpack the roller conveyor cart components, it's crucial to plan the installation thoroughly. First, identify the location where the conveyor cart will be placed. Consider factors such as the available space, proximity to other equipment or work areas, and the flow of materials. The area should be flat, stable, and free from any obstructions that could interfere with the conveyor's operation.
Measure the dimensions of the space carefully. This will help you determine if the conveyor cart will fit properly and if there is enough room for workers to access it for maintenance and loading/unloading. Also, think about the future expansion of your operations. If there's a possibility of increasing the volume of goods or changing the workflow, leave some extra space around the conveyor.
Next, gather all the necessary tools for the installation. This typically includes a set of wrenches, screwdrivers, a level, and a tape measure. Having these tools at hand will ensure a smooth installation process.
Step 2: Unpacking and Inspection
Once you've completed the planning phase, it's time to unpack the roller conveyor cart. Carefully remove all the components from the packaging, taking note of any loose parts or accessories. Check each part for any signs of damage during transit. If you notice any issues, contact our customer support team immediately. We stand behind the quality of our products and will work with you to resolve any problems.
As you unpack, lay out the components in an organized manner. This will make it easier to identify and assemble the parts later. Refer to the installation manual that comes with the conveyor cart. The manual provides detailed diagrams and instructions specific to your model, so it's an invaluable resource.


Step 3: Assembly of the Frame
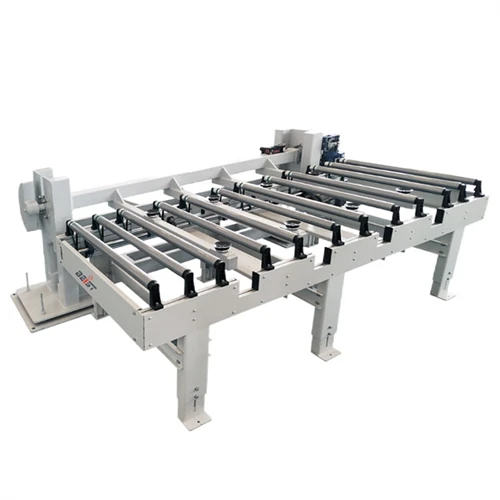
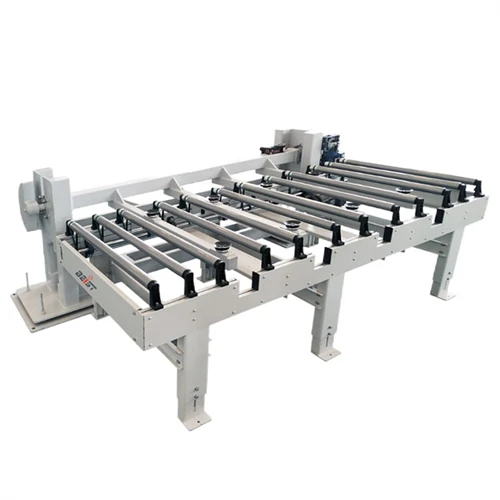
The frame is the backbone of the roller conveyor cart, so assembling it correctly is essential. Start by connecting the main frame sections according to the instructions in the manual. Use the appropriate wrenches to tighten the bolts securely. Make sure that the frame is square and level. You can use a level to check the horizontal and vertical alignment.
As you assemble the frame, pay attention to the orientation of the parts. Some components may have specific markings or features that indicate the correct way to connect them. If you're unsure, refer to the manual or contact our technical support team for assistance.
Once the main frame is assembled, attach any support legs or brackets. These will provide stability to the conveyor cart, especially when it's loaded with heavy materials. Ensure that the legs are adjusted to the correct height so that the conveyor is level.
Step 4: Installation of the Rollers
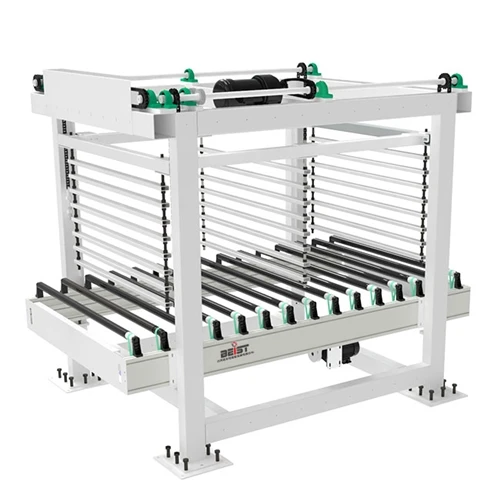
After the frame is assembled, it's time to install the rollers. The rollers are what allow the materials to move smoothly along the conveyor. Start by inserting the rollers into the roller brackets on the frame. Make sure that the rollers are evenly spaced and parallel to each other.
Check the alignment of the rollers to ensure that they rotate freely. You can do this by manually spinning each roller. If a roller is not rotating smoothly, there may be an issue with its installation or a blockage. Adjust the roller as needed to ensure proper rotation.
There are different types of rollers available, such as Gravity Roller Conveyor and Curved Roller Conveyor. Depending on your specific requirements, you may need to choose the appropriate type of roller for your application.
Step 5: Connecting Conveyor Sections (if applicable)
If your roller conveyor cart consists of multiple sections, you'll need to connect them together. Align the sections carefully and use the provided connectors or fasteners to join them. Make sure that the connection is secure and that the rollers on adjacent sections are aligned properly.
When connecting the sections, check the overall alignment of the conveyor. Use a tape measure to ensure that the conveyor is straight and that the sections are joined without any gaps or misalignments. This will ensure a smooth flow of materials along the conveyor.
Step 6: Adding Accessories
Depending on your needs, you may want to add some accessories to the roller conveyor cart. For example, a Conveyor Crossover Bridge can be added to allow materials to cross over other conveyors or obstacles.
Other accessories may include side guards to prevent materials from falling off the conveyor, end stops to keep the materials from rolling off the end, and guide rails to keep the materials centered on the conveyor. Install these accessories according to the manufacturer's instructions.
Step 7: Testing and Adjustment
Once the roller conveyor cart is fully assembled and all the accessories are installed, it's time to test it. Start by powering on the conveyor (if it's a powered model) or manually pushing a small test load along the conveyor. Observe the movement of the materials to ensure that they are flowing smoothly.
Check for any signs of noise, vibration, or uneven movement. If you notice any issues, stop the conveyor immediately and investigate the cause. It could be due to a misaligned roller, a loose bolt, or an issue with the power supply.
Make any necessary adjustments to the conveyor, such as tightening bolts, realigning rollers, or adjusting the speed (if applicable). Once you're satisfied with the performance of the conveyor, conduct a more thorough test with a full - scale load.
Step 8: Maintenance and Safety Training
After the installation and testing are complete, it's important to establish a maintenance schedule for the roller conveyor cart. Regular maintenance will help ensure the longevity and optimal performance of the conveyor. This may include lubricating the rollers, checking the tightness of the bolts, and inspecting the overall condition of the conveyor.
In addition to maintenance, provide safety training to all employees who will be using the conveyor. Train them on how to operate the conveyor safely, how to load and unload materials properly, and what to do in case of an emergency. Safety should always be a top priority when using any industrial equipment.
Conclusion
Installing a roller conveyor cart is a multi - step process that requires careful planning, attention to detail, and the right tools. By following these steps, you can ensure a successful installation and start enjoying the benefits of a reliable and efficient conveyor system.
As a Roller Conveyor Cart supplier, we're committed to providing you with high - quality products and excellent customer service. If you have any questions or need further assistance during the installation process, don't hesitate to contact us. We're here to help you make the most of your investment in our roller conveyor carts.
If you're interested in purchasing a roller conveyor cart or have any questions about our products, please reach out to us. We look forward to discussing your specific requirements and helping you find the perfect solution for your business.
References
- Manufacturer's installation manual for the roller conveyor cart.
- Industry standards and best practices for conveyor installation and maintenance.