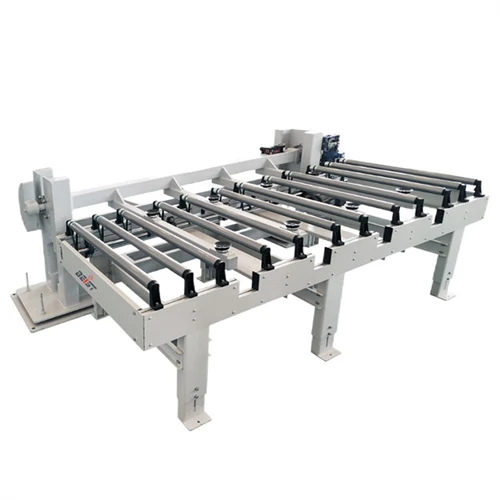
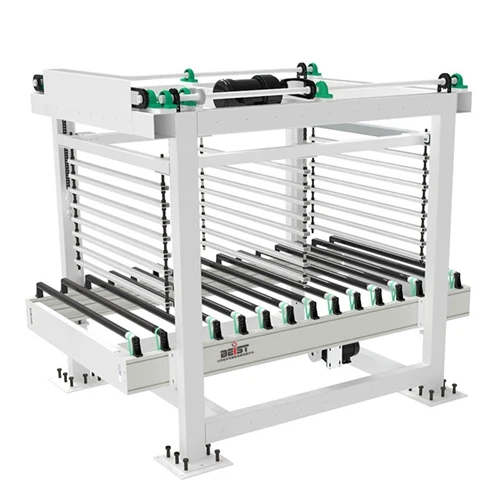
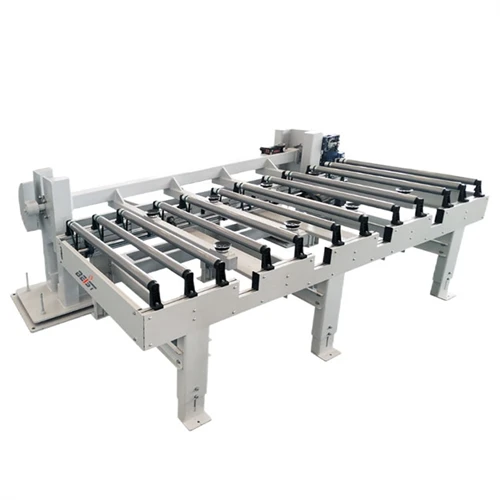
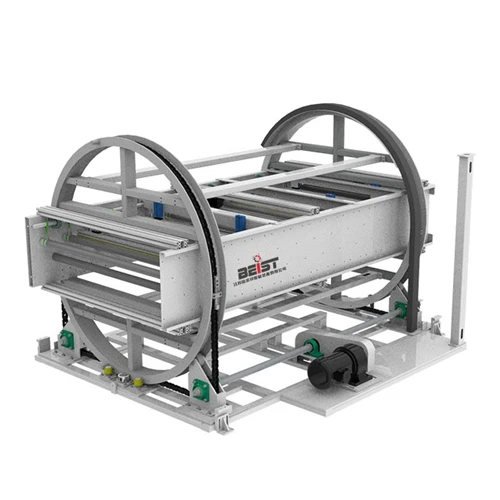
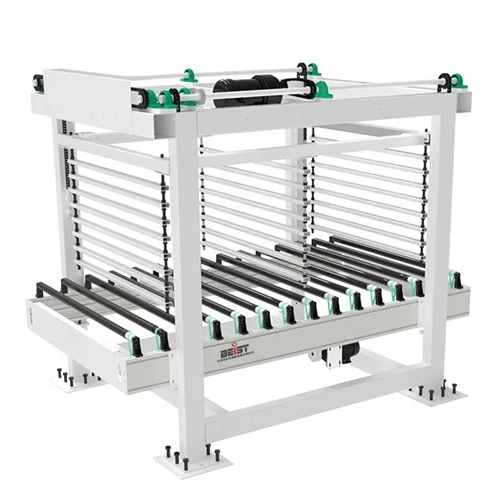
Installing a weighing device on a pneumatic roller conveyor can significantly enhance its functionality, providing valuable data on the weight of items being transported. As a pneumatic roller conveyor supplier, I've had extensive experience with this process and am excited to share a comprehensive guide on how to achieve this successfully.


Understanding the Basics
Before diving into the installation process, it's crucial to understand the key components involved. A pneumatic roller conveyor, as the name suggests, uses compressed air to power the movement of rollers. This type of conveyor is known for its efficiency, reliability, and ability to handle a variety of loads. You can learn more about Pneumatic Roller Conveyor on our website.
A weighing device, on the other hand, can range from simple mechanical scales to sophisticated digital load cells. The choice of weighing device depends on several factors, including the accuracy required, the weight capacity of the conveyor, and the type of items being weighed.
Step 1: Planning and Preparation
The first step in installing a weighing device on a pneumatic roller conveyor is to plan the installation carefully. This involves assessing the conveyor's design, determining the best location for the weighing device, and selecting the appropriate equipment.
- Assess the Conveyor's Design: Examine the structure of the pneumatic roller conveyor to ensure that it can support the additional weight of the weighing device. Consider factors such as the conveyor's frame strength, roller spacing, and overall stability.
- Determine the Best Location: The location of the weighing device is critical for accurate weight measurement. Ideally, it should be placed in an area where the items being transported are stable and not subject to excessive vibration or movement. A common location is near the end of the conveyor, where the items have reached a steady state.
- Select the Appropriate Equipment: Choose a weighing device that is compatible with the pneumatic roller conveyor and meets your specific requirements. Consider factors such as the weight capacity, accuracy, and durability of the device. Digital load cells are often a popular choice due to their high accuracy and reliability.
Step 2: Gather the Necessary Tools and Materials
Once you have completed the planning phase, it's time to gather the necessary tools and materials for the installation. This may include:
- Weighing Device: The chosen weighing device, along with any necessary accessories such as mounting brackets and cables.
- Tools: Basic hand tools such as wrenches, screwdrivers, and drills may be required for the installation. Depending on the complexity of the weighing device, you may also need specialized tools such as torque wrenches or soldering irons.
- Materials: Additional materials such as nuts, bolts, washers, and electrical wiring may be needed to secure the weighing device to the conveyor and connect it to the power source.
Step 3: Prepare the Conveyor for Installation
Before installing the weighing device, it's important to prepare the conveyor to ensure a smooth and successful installation. This involves:
- Clean the Conveyor: Remove any dirt, debris, or loose materials from the conveyor surface to ensure a clean and stable installation area.
- Mark the Installation Location: Use a measuring tape and a marker to mark the exact location where the weighing device will be installed. This will help ensure that the device is installed in the correct position and aligned properly.
- Drill Holes (if necessary): If the weighing device requires mounting holes to be drilled in the conveyor frame, use a drill and the appropriate drill bit to create the holes. Make sure to follow the manufacturer's instructions for the correct hole size and spacing.
Step 4: Install the Weighing Device
With the conveyor prepared, it's time to install the weighing device. This typically involves the following steps:
- Mount the Weighing Device: Use the mounting brackets and hardware provided with the weighing device to secure it to the conveyor frame. Make sure to tighten the bolts and nuts securely to ensure a stable installation.
- Connect the Cables: Connect the electrical cables from the weighing device to the power source and any other necessary components, such as a display unit or a data logger. Follow the manufacturer's instructions for the correct wiring connections.
- Calibrate the Weighing Device: Once the weighing device is installed and connected, it's important to calibrate it to ensure accurate weight measurement. This typically involves following a calibration procedure provided by the manufacturer, which may include using known weights to adjust the device's settings.
Step 5: Test the Installation
After the weighing device is installed and calibrated, it's important to test the installation to ensure that it is functioning properly. This involves:
- Check the Weighing Accuracy: Place a known weight on the conveyor and check the weight reading on the weighing device. Compare the reading to the known weight to ensure that the device is accurate within the specified tolerance.
- Test the Conveyor's Operation: Run the pneumatic roller conveyor with the weighing device installed and observe its operation. Make sure that the conveyor moves smoothly and that the weighing device does not interfere with the normal operation of the conveyor.
- Check for Any Issues: Inspect the installation for any signs of damage, loose connections, or other issues. Address any problems immediately to ensure the safe and reliable operation of the conveyor and the weighing device.
Step 6: Maintenance and Troubleshooting
Once the weighing device is installed and tested, it's important to perform regular maintenance to ensure its continued accuracy and reliability. This may include:
- Clean the Weighing Device: Regularly clean the weighing device to remove any dirt, debris, or dust that may accumulate on its surface. This will help prevent damage to the device and ensure accurate weight measurement.
- Check the Connections: Periodically check the electrical connections of the weighing device to ensure that they are secure and free from corrosion. Loose or corroded connections can cause inaccurate weight readings or other problems.
- Calibrate the Weighing Device: Over time, the weighing device may require recalibration to maintain its accuracy. Follow the manufacturer's recommendations for the frequency of calibration and perform the calibration procedure as needed.
In the event of any issues or problems with the weighing device, it's important to troubleshoot the problem promptly. This may involve checking the connections, inspecting the device for damage, or contacting the manufacturer for technical support.
Conclusion
Installing a weighing device on a pneumatic roller conveyor can provide valuable data on the weight of items being transported, enhancing the functionality and efficiency of the conveyor system. By following the steps outlined in this guide and using the appropriate tools and materials, you can successfully install a weighing device on your pneumatic roller conveyor.
If you're in the market for a Pneumatic Roller Conveyor or need assistance with the installation of a weighing device, we're here to help. Our team of experts has extensive experience in the design, installation, and maintenance of conveyor systems and can provide you with the support and guidance you need. Contact us today to learn more about our products and services and to discuss your specific requirements. We look forward to the opportunity to work with you and help you optimize your conveyor system.
References
- Conveyor Equipment Manufacturers Association (CEMA). Conveyor Design Manual.
- Weighing and Measurement Handbook. Various industry publications.