Installing and calibrating sensors on a powered conveyor is a crucial process that ensures the efficient and safe operation of the conveyor system. As a powered conveyor supplier, I have extensive experience in this area and would like to share some valuable insights on how to carry out these tasks effectively.


Understanding the Types of Sensors for Powered Conveyors
Before diving into the installation and calibration process, it's important to understand the different types of sensors commonly used on powered conveyors. The most frequently used sensors include proximity sensors, photoelectric sensors, and load sensors.
Proximity sensors are used to detect the presence or absence of an object within a certain range. They are ideal for applications where precise object detection is required, such as in automated sorting systems. Photoelectric sensors, on the other hand, use light beams to detect objects. They can be used for a variety of applications, including counting objects, detecting the edges of objects, and monitoring the flow of materials on the conveyor. Load sensors are designed to measure the weight or force applied to the conveyor. They are often used in applications where the weight of the conveyed materials needs to be monitored, such as in shipping and receiving operations.
Pre - installation Preparation
-
Planning the Sensor Placement
- The first step in the installation process is to plan where the sensors will be placed on the conveyor. This depends on the specific application and the type of sensor being used. For example, if you are using proximity sensors to detect the presence of products at a specific point on the conveyor, you need to place them at the appropriate height and distance from the conveyor surface.
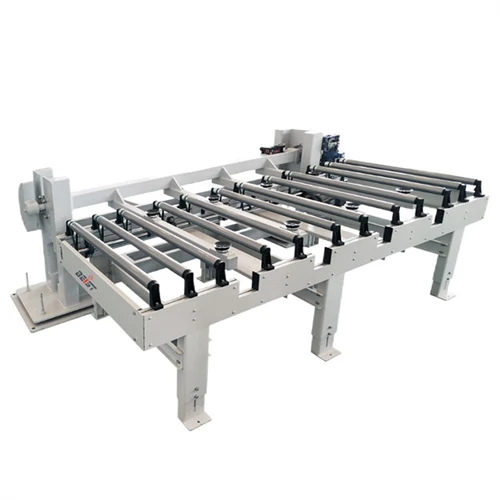
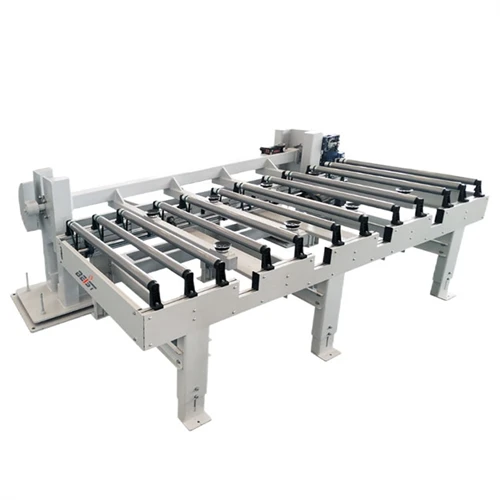
- Consider the conveyor's layout and the flow of materials. For instance, if you have a Powered Roller Conveyor - Gap, the sensor placement should be adjusted to account for the gaps between the rollers.
-
Checking the Conveyor Compatibility
- Ensure that the conveyor is compatible with the sensors you have selected. Check the electrical requirements, such as voltage and current ratings, of both the conveyor and the sensors. Make sure that the mechanical mounting points on the conveyor are suitable for attaching the sensors.
- Some conveyors may require additional modifications or adapters to accommodate the sensors. For example, if the conveyor has a unique frame design, you may need to fabricate custom brackets for sensor mounting.
-
Gathering the Necessary Tools
- Collect all the tools needed for the installation, such as screwdrivers, wrenches, wire strippers, and electrical connectors. Having the right tools on hand will make the installation process smoother and more efficient.
- It's also a good idea to have a multimeter to test the electrical connections and ensure proper sensor operation during and after installation.
Installation Process
-
Mounting the Sensors
- Carefully mount the sensors on the conveyor according to the pre - planned placement. Use the appropriate fasteners, such as screws or bolts, to secure the sensors in place. Make sure that the sensors are firmly attached and do not move during the conveyor's operation.
- For example, if you are mounting a photoelectric sensor, ensure that it is aligned correctly so that the light beam can accurately detect the objects passing by.
-
Wiring the Sensors
- Connect the sensors to the conveyor's control system. Follow the wiring diagrams provided by the sensor and conveyor manufacturers. Use high - quality electrical wires and connectors to ensure reliable connections.
- Properly insulate the wires to prevent short - circuits and electrical hazards. Label the wires clearly to make troubleshooting easier in the future.
-
Testing the Initial Installation
- Once the sensors are installed and wired, perform an initial test. Power on the conveyor and the sensors and check if the sensors are functioning properly. You can use test objects to simulate the presence of materials on the conveyor and verify that the sensors are detecting them accurately.
- If any issues are detected during the initial test, such as false readings or no detections, troubleshoot the problem immediately. Check the sensor mounting, wiring connections, and settings.
Calibration of Sensors
-
Proximity Sensors Calibration
- For proximity sensors, calibration involves adjusting the sensing range. Most proximity sensors have adjustable sensitivity settings. Use a test object to determine the optimal distance at which the sensor should detect the object.
- Gradually adjust the sensitivity until the sensor reliably detects the test object within the desired range. Make small adjustments and test the sensor after each adjustment to ensure accuracy.
-
Photoelectric Sensors Calibration
- Photoelectric sensors may need to be calibrated for factors such as light intensity and beam alignment. Adjust the light intensity settings of the sensor to ensure that it can detect objects under different lighting conditions.
- Align the light beam precisely so that it passes through the area where the objects will be detected. Use a laser alignment tool if necessary to ensure accurate beam alignment.
-
Load Sensors Calibration
- Load sensors require calibration to ensure accurate weight measurement. This typically involves applying known weights to the conveyor and adjusting the sensor's output to match the actual weights.
- Follow the calibration procedure provided by the load sensor manufacturer. This may involve using a calibration weight set and adjusting the sensor's gain or offset settings.
Post - installation Verification
-
Functional Testing
- Conduct comprehensive functional testing of the conveyor system with the sensors installed and calibrated. Run a series of test cycles with different types and sizes of materials to ensure that the sensors are accurately detecting and monitoring the materials.
- Check for any false alarms or missed detections. If any issues are found, re - check the sensor settings and connections.
-
Long - term Monitoring
- Implement a long - term monitoring system to continuously check the sensor performance. This can involve using data logging software to record sensor readings over time.
- Regularly review the data to identify any trends or issues that may indicate sensor degradation or malfunction.
Conclusion
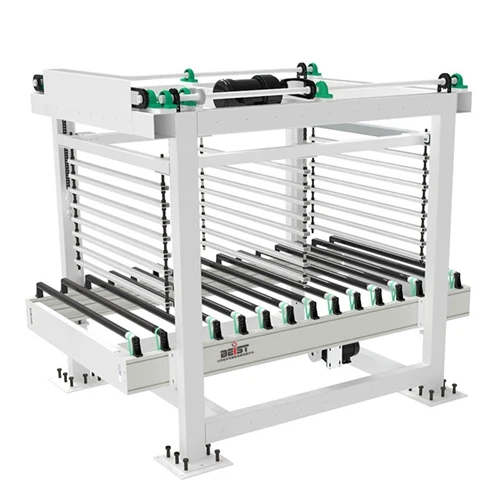
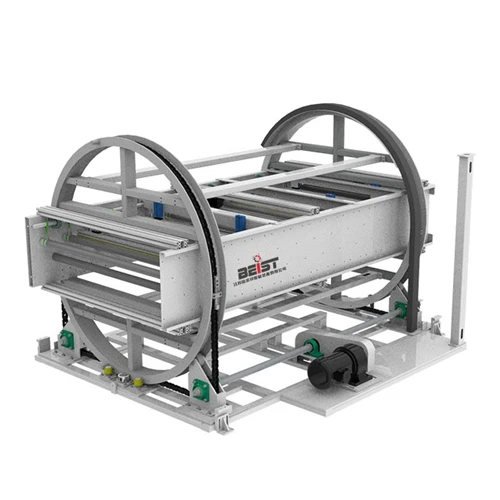
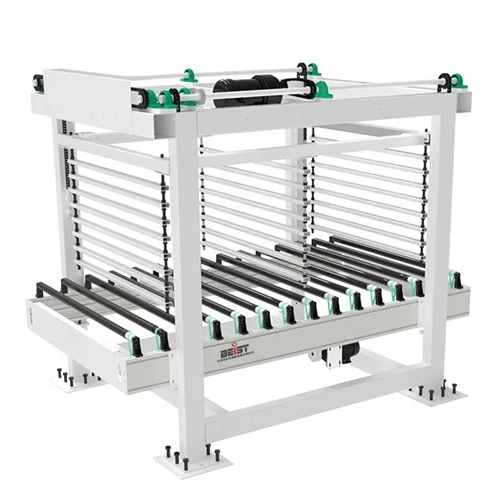
Installing and calibrating sensors on a powered conveyor is a complex but essential process. By following the steps outlined above, you can ensure that your conveyor system operates efficiently and safely. As a powered conveyor supplier, we have the expertise and resources to help you with every aspect of sensor installation and calibration. Whether you are using a Powered Roller Conveyor - Gap, a Panel Storage Machine, or a Cross Conveyor with Rotation Function, we can provide customized solutions to meet your specific needs.
If you are interested in purchasing powered conveyors or need assistance with sensor installation and calibration, we invite you to contact us for procurement discussions. Our team of experts is ready to help you optimize your conveyor system.
References
- Manufacturer's manuals for sensors and powered conveyors.
- Industry standards and best practices for conveyor system installation and sensor calibration.